Executive Summary
An engine swap in the UK involves removing your vehicle’s existing engine and fitting a replacement unit, typically costing between £800-£2,500 for labour plus the price of the engine itself. While technically possible as a DIY project, most UK drivers benefit from professional installation due to complex emissions regulations, MOT requirements, and the specialised tools needed. The process typically takes 8-15 hours for experienced mechanics, though this varies significantly by vehicle make and model.
Critical considerations: Engine swaps must comply with DVSA emissions standards, require proper documentation for DVLA notification, and may affect your insurance coverage. Used engines offer the most cost-effective solution (£500-£1,500), while reconditioned units (£1,500-£3,500) provide better reliability warranties.
Engine Finders is a price comparison platform, not a direct engine seller. Final pricing, warranty terms, and availability vary by vetted UK supplier. Professional diagnosis is recommended before purchasing any replacement engine.
What Is an Engine Swap?
An engine swap is the process of replacing your vehicle’s existing engine with either a rebuilt version of the same unit or a different engine entirely. In the UK context, most swaps involve like-for-like replacements to maintain emissions compliance and avoid complex DVSA approval processes.
The procedure requires removing the old engine from the engine bay, preparing the replacement unit, and installing it with all associated components including the gearbox, cooling system, exhaust manifolds, and electrical connections. For specific engine recommendations and reliability data, check our guides on most reliable Mercedes-Benz engines and BMW engine reliability.
Prerequisites and Tools Required
Essential Tools
Before attempting an engine swap, you’ll need:
- Engine hoist/cherry picker (1-2 tonne capacity minimum)
- Engine stand for rebuilding/preparation
- Complete socket set (8mm-32mm, including deep sockets)
- Torque wrench (critical for cylinder head and bearing bolts)
- Jack and axle stands (never rely on jacks alone)
- Transmission jack (for rear-wheel-drive vehicles)
- Basic hand tools: screwdrivers, pliers, pry bars
- Drain pans for coolant, oil, and transmission fluid
- Label maker or masking tape for hose/wire identification
Safety Equipment
- Safety glasses/goggles
- Mechanic’s gloves (nitrile and heavy-duty)
- Steel-toe boots
- Fire extinguisher (CO2 or dry powder)
- Adequate ventilation (carbon monoxide risk)
Skill Level Assessment
Engine swaps are advanced-level mechanical work. You should have experience with:
- Complete timing belt/chain replacements
- Cylinder head removal and refitting
- Clutch and gearbox removal
- Electrical diagnostic work
- Cooling system bleeding procedures
If you haven’t completed these tasks independently, professional installation is strongly recommended. For cost estimates, check our engine replacement cost guide.
Step-by-Step Engine Swap Process
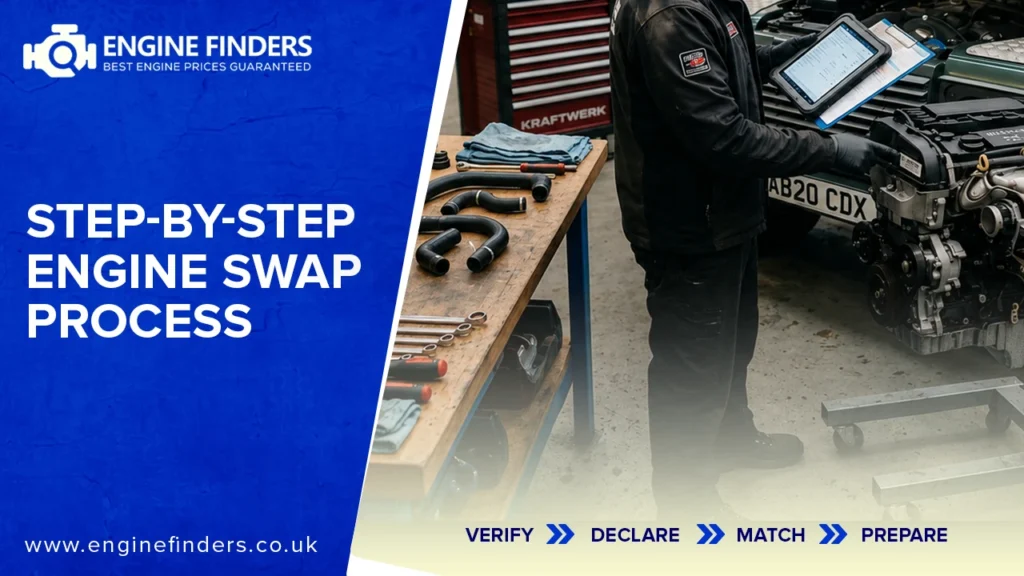
Step 1: Preparation and Documentation (2-3 hours)
Before touching tools:
- Verify emissions compatibility – The replacement engine must meet the same or better emissions standard as your original. Check your V5C registration document for the emissions standard (Euro 4, 5, or 6).
- Notify your insurance provider – Most policies require declaration of major mechanical work. Failure to notify can invalidate coverage.
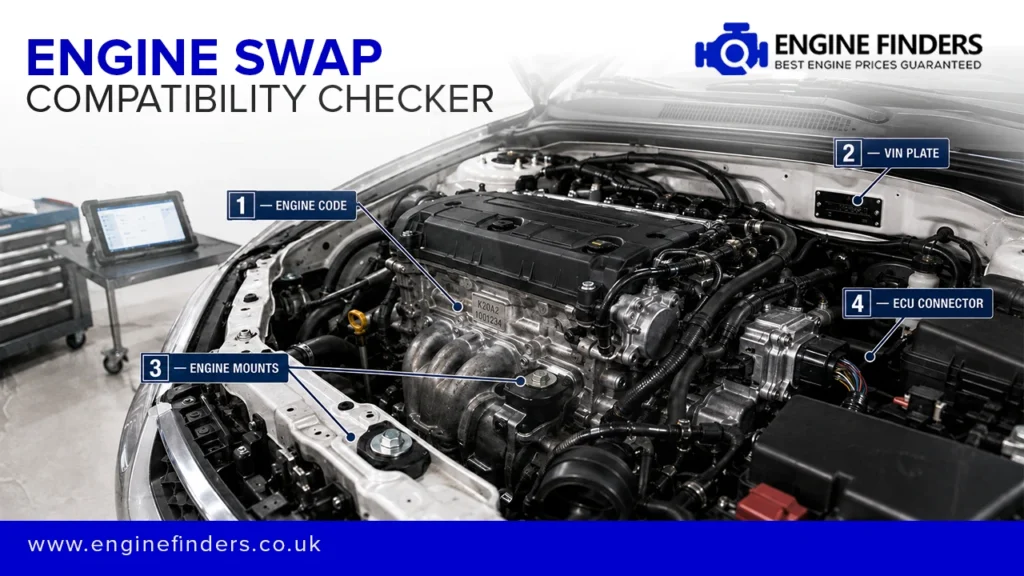
- Source the correct engine – Use the engine code (not just vehicle model) to ensure compatibility. For example, a BMW N47 differs significantly from an N57 despite both being diesel engines.
- Order ancillary components – Budget for new gaskets, seals, belts, hoses, and fluids. These typically add £200-£400 to the total cost.
Step 2: Engine Removal (4-6 hours)
Safety warning: Never work under a vehicle supported only by a jack. Always use axle stands rated for your vehicle’s weight.
- Disconnect the battery – Remove the negative terminal first to prevent electrical shorts.
- Drain all fluids – Engine oil, coolant, transmission fluid, and power steering fluid. Dispose of these at a licensed recycling centre (illegal to pour down drains).
- Label everything – Photograph and label every hose, wire, and connector. This saves hours during reassembly.
- Remove ancillary components:
o Air intake system and airbox
o Radiator and cooling fans
o Alternator, power steering pump, A/C compressor (if equipped)
o Exhaust manifold/downpipe
o Starter motor
o Engine mounts
- Disconnect transmission – For front-wheel-drive vehicles, you may remove the engine and gearbox together. Rear-wheel-drive typically requires separation.
- Attach hoist and lift – Use appropriate lifting points on the engine block. Never attach to intake manifolds, valve covers, or ancillary brackets.
- Remove engine – Carefully manoeuvre out, checking for snagged wires or hoses.
Step 3: Engine Preparation (2-4 hours)
If using a used engine:
- Inspect thoroughly – Check for oil leaks, coolant contamination, and timing component wear.
- Replace critical components:
o Timing belt/chain and tensioners (if not recently done)
o Water pump
o Oil pump (if accessible)
o All gaskets and seals
o Spark plugs or glow plugs
- Transfer necessary components from your old engine:
o Engine mounts
o Flywheel/flexplate (if compatible)
o Oil filler cap and dipstick
o Any model-specific sensors or brackets
If using a reconditioned engine: Most reconditioned engines follow our warranty guide arrive ready to install, but verify what’s included. Some suppliers don’t include ancillaries like alternators or starter motors.
Step 4: Engine Installation (4-6 hours)
- Position the engine – Lower carefully into the engine bay, guiding transmission input shaft into the clutch plate (manual) or torque converter (automatic).
- Align engine mounts – Don’t fully tighten mount bolts yet; allow for adjustment.
- Reconnect transmission – Ensure proper engagement before tightening bellhousing bolts.
- Install ancillary components in reverse order of removal:
o Exhaust manifold
o Starter motor
o Alternator, power steering pump, A/C compressor
o Radiator and cooling system
o Air intake system
- Connect all wiring and hoses – Use your labels and photographs as reference.
- Torque all fasteners to manufacturer specifications. Critical areas include:
o Engine mount bolts
o Exhaust manifold nuts
o Ancillary bracket bolts
Step 5: Fluids and Initial Start (1-2 hours)
- Fill with correct oil – Use the viscosity and specification recommended for your engine code.
- Fill cooling system – Use the correct coolant type (often manufacturer-specific). Bleed air from the system according to workshop manual procedures.
- Prime the oil system – On some engines, you can crank without spark/fuel to build oil pressure before first start.
- Initial start procedure:
o Turn key to “on” position (don’t start) and wait 10 seconds for fuel pump prime
o Crank engine; it may take longer than usual to start
o Once running, check immediately for leaks, unusual noises, or warning lights
o Monitor oil pressure gauge (if equipped)
- Bleed cooling system – Run engine to operating temperature with heater on full to remove air pockets.
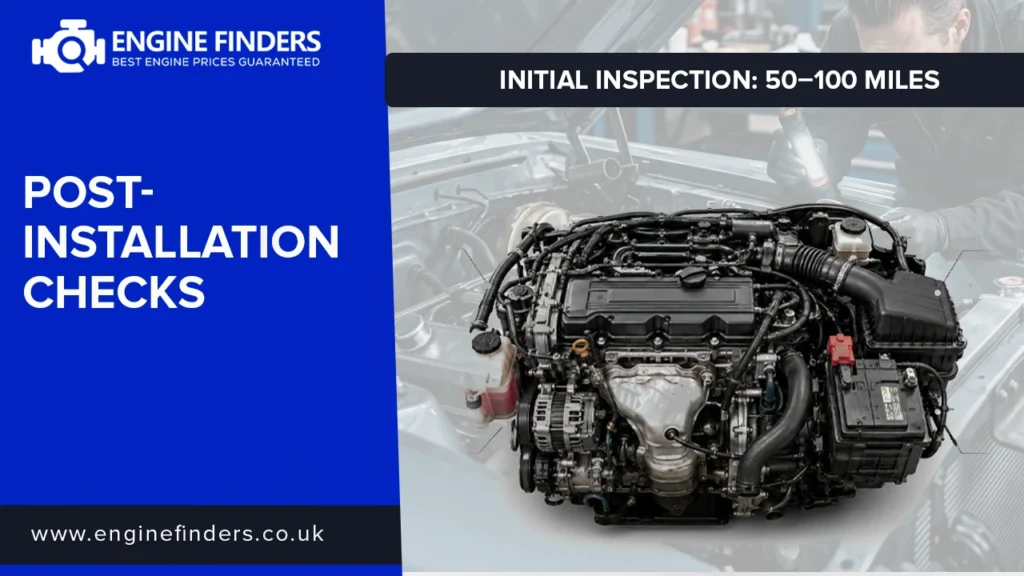
Step 6: Post-Installation Checks
- Test drive carefully – Start with short, gentle drives to verify operation.
- Re-torque critical fasteners after the first heat cycle (engine mounts, exhaust manifold).
- Check for leaks after 50-100 miles.
- Change oil and filter after the first 500 miles to remove any debris from the installation process.
Legal Requirements and MOT Compliance
DVSA Emissions Regulations
UK law requires that replacement engines meet the same or better emissions standard as the original. Installing a non-compliant engine can result in:
- MOT failure – The tester will check emissions against the vehicle’s original standard
- DVLA enforcement – Potential fines for incorrect vehicle records
- Insurance invalidation – Non-disclosure of modifications
For official guidance on MOT testing and vehicle standards, visit the GOV.UK MOT testing guide.
DVLA Notification
You must inform the DVLA if you change your engine to one with a different:
- Engine capacity
- Fuel type
- Emissions standard
Update your V5C registration document and send it to DVLA, Swansea, SA99 1BA.
MOT Testing After Engine Swap
Your next MOT will include:
- Emissions test against original vehicle standard
- Visual inspection for obvious leaks or safety issues
- Check that engine number matches V5C (if recorded)
Important: There’s no legal requirement for a specific MOT immediately after an engine swap, but ensure the vehicle is roadworthy before driving.
Common Mistakes to Avoid
1. Incorrect Engine Code Matching
Mistake: Assuming any engine from the same model will fit. Reality: BMW’s N47 and B47 are both 2.0-litre diesels but have completely different mounting points, electronics, and emissions systems. Always match by engine code, not vehicle model. Check our BMW 318d reliability guide for specific examples.
2. Skipping Ancillary Replacement
Mistake: Reusing old gaskets, seals, and belts to save money. Reality: A £15 water pump failure can destroy a £2,000 engine. Replace all wear items during installation.
3. Improper Torque Procedures
Mistake: Overtightening or undertightening critical bolts. Reality: Cylinder head bolts, main bearing caps, and connecting rod bolts require precise torque specifications. Invest in or borrow a quality torque wrench.
4. Inadequate Cooling System Bleeding
Mistake: Assuming the system will self-bleed. Reality: Air pockets cause overheating and potential head gasket failure. Follow manufacturer bleeding procedures exactly.
5. Neglecting Electrical Connections
Mistake: Not fully seating connectors or damaging wiring during removal. Reality: Modern engines rely on dozens of sensors. A single loose connector can cause running issues or prevent starting.
When to Call a Professional
Seek professional installation if:
- You lack an appropriate workspace (garage with proper ventilation and lighting)
- You don’t own or can’t rent an engine hoist
- Your vehicle has complex electronics (most post-2010 vehicles)
- The swap involves different engine families (requires ECU reprogramming)
- You’re uncomfortable with any step of the process
Professional labour costs typically range from £800-£2,500 depending on vehicle complexity and regional rates. Compare this against the risk of costly mistakes during DIY installation. For advice from fellow enthusiasts, consider checking automotive forums like PistonHeads.
Engine Swap Cost Breakdown UK
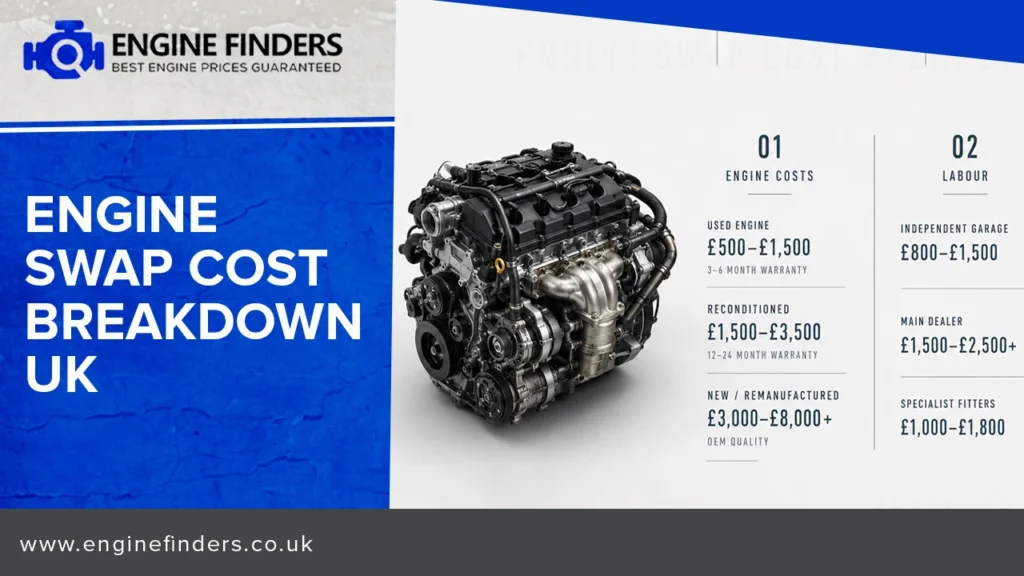
Engine Costs (Supply Only)
Used engines: £500-£1,500 learn about used vs reconditioned engines
- 3-6 month warranty typical
- Unknown service history
- Best for budget-conscious owners
Reconditioned engines: £1,500-£3,500
- 12-24 month warranty standard
- Rebuilt to specification with new wear components
- Best value for long-term ownership
New/remanufactured engines: £3,000-£8,000+
- OEM or equivalent quality
- Full warranty coverage
- Best for late-model vehicles under warranty
Labour Costs
- Independent garage: £800-£1,500 (8-12 hours @ £60-£100/hour)
- Main dealer: £1,500-£2,500+ (higher hourly rates)
- Specialist engine fitters: £1,000-£1,800
Additional Costs
- Gaskets, seals, belts: £150-£400
- Fluids (oil, coolant, transmission): £100-£200
- Ancillary components (water pump, thermostat): £100-£300
- Unexpected repairs (always budget 20% contingency): £200-£500
Total typical cost: £1,500-£4,000 for a complete professional installation with a reconditioned engine.
Compare quotes from vetted UK suppliers to find the best combination of price, warranty, and supplier reputation.
Practical Takeaways
Best Approach by Situation
- Budget-conscious owners: Source a low-mileage used engine from a reputable breaker, but budget for immediate replacement of timing components and water pump. Have it professionally installed if you lack experience.
- Long-term keepers: Invest in a reconditioned engine with a 12+ month warranty. The extra upfront cost prevents premature failure and provides peace of mind.
- Complex modern vehicles: Always use professional installation. Post-2015 vehicles often require ECU coding, adaptive value resets, and specialist diagnostic equipment.
When to Use EngineFinders
Use our comparison tool when you need to:
- Compare prices across multiple vetted UK suppliers
- Verify warranty terms and supplier credentials
- Find engines for specific engine codes (not just vehicle models)
- Get no-obligation quotes before committing
Professional Verification Requirements
Before purchasing any replacement engine:
- Verify the engine code matches your vehicle’s requirements
- Confirm the emissions standard is compatible
- Check supplier warranty terms and return policy
- Ensure the engine hasn’t been reported stolen (ask for proof of origin)
- Get a written quote including VAT and delivery
Frequently Asked Questions
How long does an engine swap take in the UK?
A professional engine swap typically takes 8-15 hours of labour, usually completed within 2-3 working days. DIY installations can take 20-40 hours depending on experience level and vehicle complexity. Front-wheel-drive vehicles are generally quicker than rear-wheel-drive configurations.
What is the average cost of an engine swap in the UK?
Complete engine swap costs range from £1,500-£4,000 including supply and fit. Used engines cost £500-£1,500 plus £800-£1,500 labour. Reconditioned engines cost £1,500-£3,500 plus labour. Always budget an additional £300-£600 for gaskets, seals, and fluids.
Do I need to inform the DVLA after an engine swap?
Yes, you must inform the DVLA if the replacement engine has different capacity, fuel type, or emissions standard than the original. Update your V5C registration document and send it to DVLA. Failure to update records can result in MOT failures and potential enforcement action.
Can I swap to a different engine type in my vehicle?
Like-for-like swaps (same engine code) are straightforward. Different engine families require ECU reprogramming, may fail emissions tests, and can invalidate insurance. Cross-engine swaps need DVSA Individual Vehicle Approval (IVA) in some cases. Consult a specialist before attempting non-standard swaps.
Is it worth swapping an engine or buying a new car?
Engine swaps are cost-effective if your vehicle is otherwise in good condition, has low mileage, and the total repair cost is under 50% of the vehicle’s value. For high-mileage vehicles with other worn components (gearbox, suspension), purchasing a replacement vehicle may offer better long-term value.
What warranty should I expect on a replacement engine?
Used engines typically carry 3-6 month warranties covering major mechanical failures. Reconditioned engines should include 12-24 month warranties with parts and labour coverage. Always verify warranty terms, claim procedures, and whether labour costs are included before purchasing.